How to Make an Envelope Advent Calendar
Posted by Sophie on 16th Nov 2018
How To Make An Envelope Advent Calendar
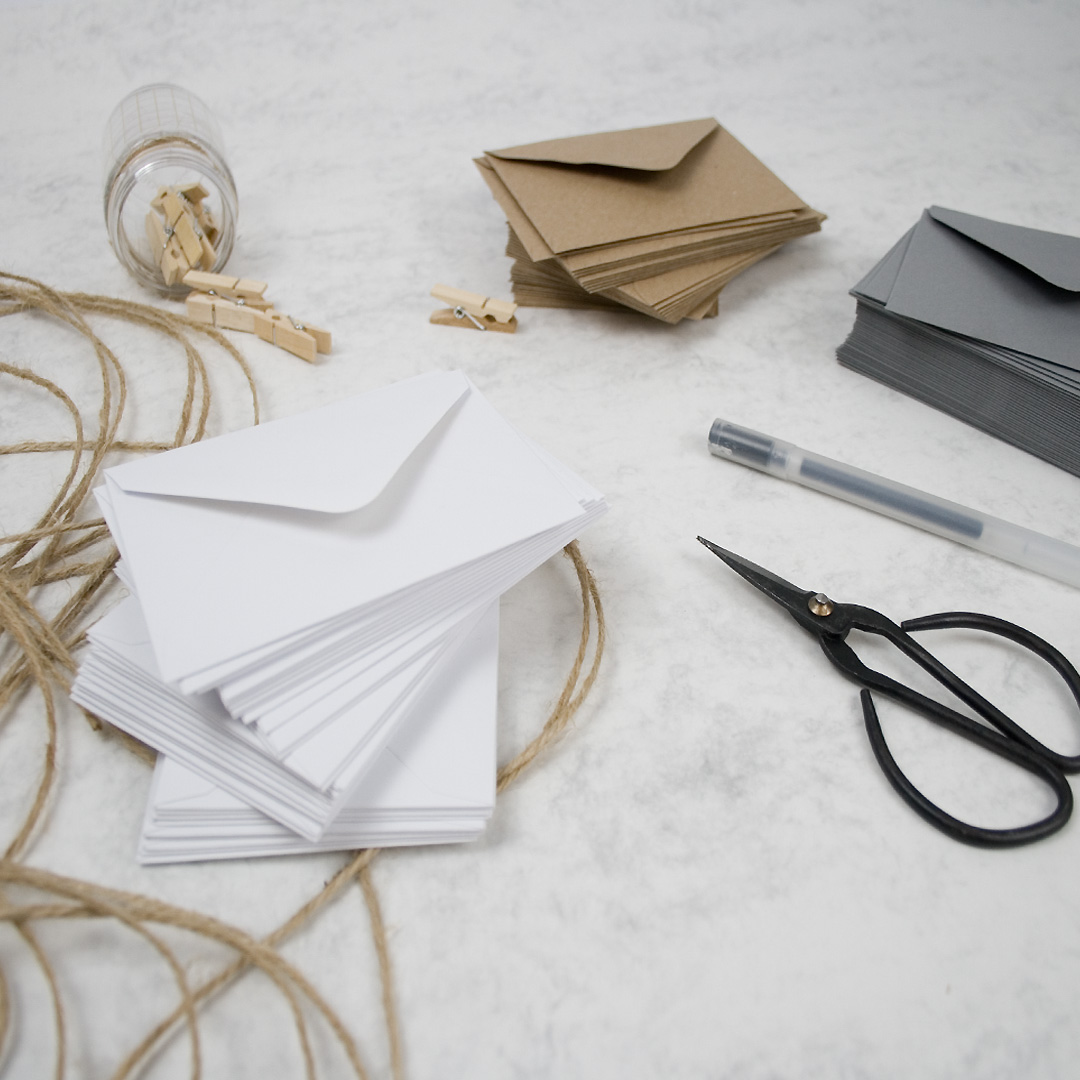
Equipment:
Mini Pegs
Christmas die cut shapes/decorations of your choice
Micro Dots Sheets
Step 1
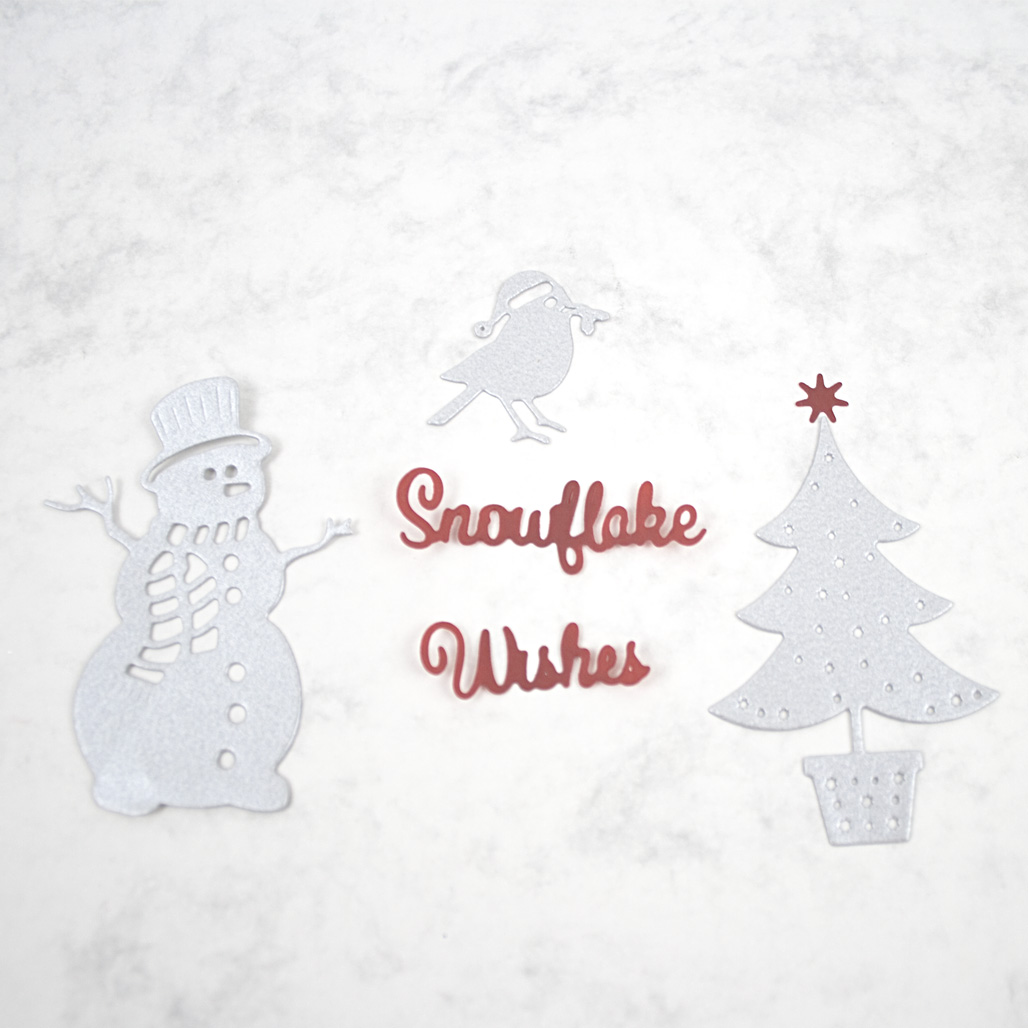
I started with using die cuts to get my Christmas themed decorations for the envelopes.
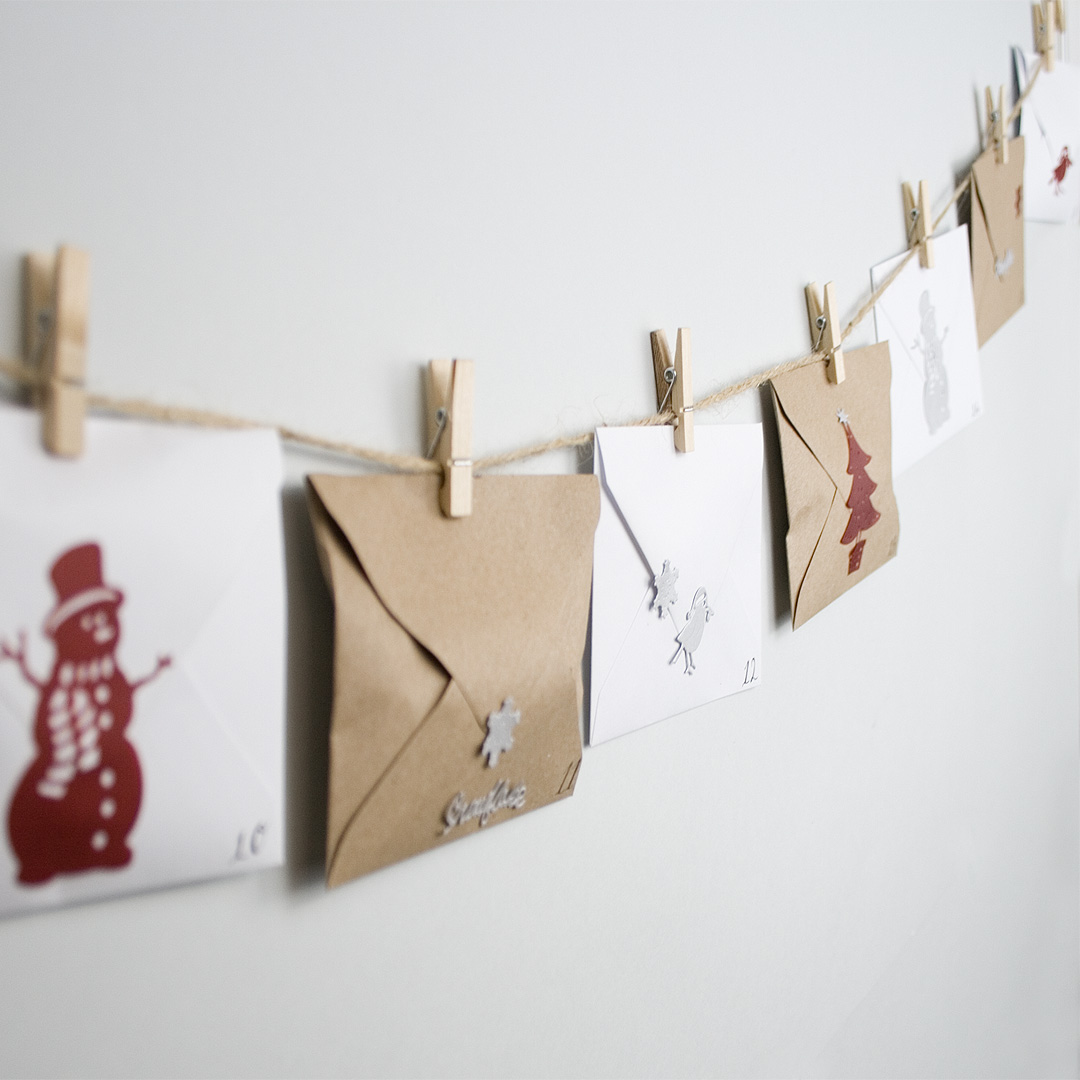
I used red vellum paper and pale silver pearl paper for my die cut shapes to compliment the kraft and white envelopes I’d chosen as the base.

Step 2
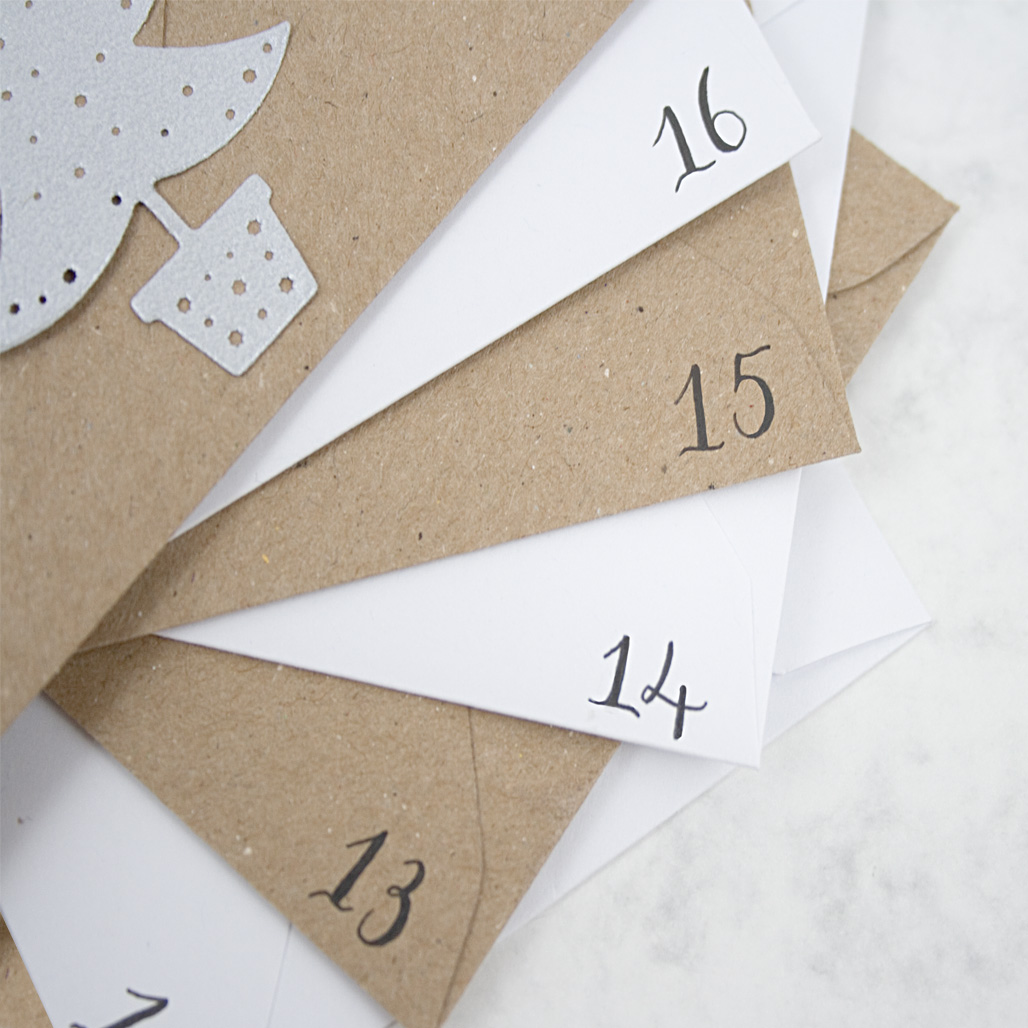
Fill the envelopes with mini presents or secret messages! You might want to number the envelopes at this stage to ensure the recipient will get the right message or treat on the day you intended.
You can either use die cut numbers or write them by hand. I chose to write them myself as I’ll take any chance to practice my hand lettering skills! I also didn’t want the numbers to detract from the decoration.
Step 3
Once all the treats have been sealed (no sneaky peeking in this calendar!) in the envelopes use the die cut shapes to decorate as desired.
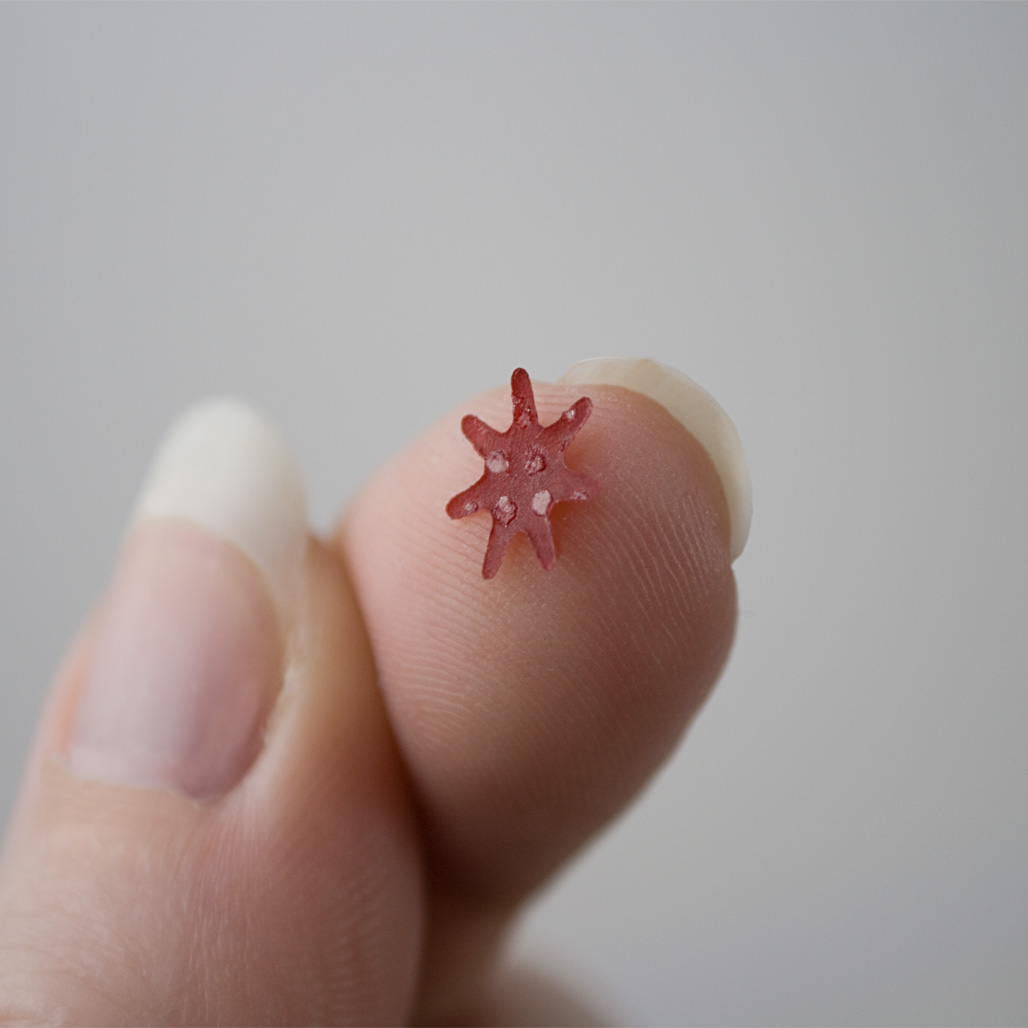
Micro Dots Sheets are perfect for the smallest and fiddliest embellishments, as you can see here.
Step 4
Hang your twine and attach the envelopes with the mini pegs!
For stress free hanging, damage free, self adhesive hooks work a treat.

