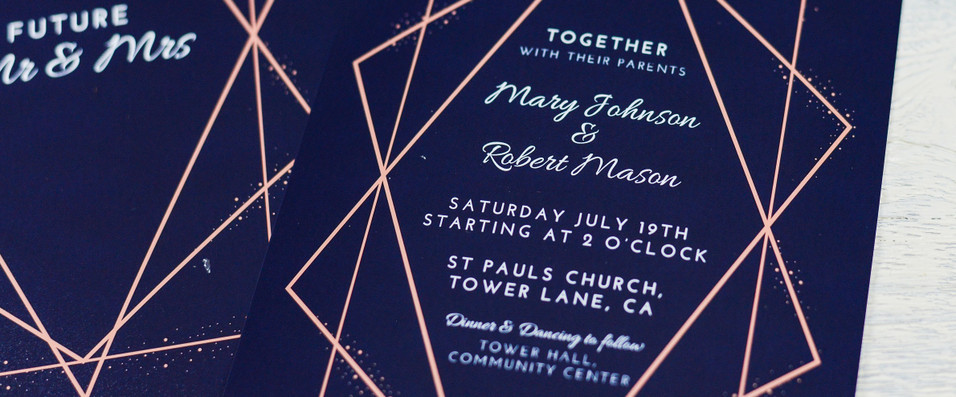
Is it Cheaper to Make DIY Wedding Invitations?
Posted by Sophie on 22nd Jan 2021
Are DIY Wedding Invitations Cheaper?
Let’s face it, weddings can get expensive fast. Between the cost of booking your venue and hiring a caterer, there’s often not much room to splurge on things like save-the-dates and wedding invitations.
Fortunately, there are many ways to create lovely wedding invites without breaking the bank. By making cheap DIY wedding invitations, you can take full control of your cards’ design and not have to worry about scrimping on quality. Here are six ways to get it done.
1. Plan Your Invitation Wording
Planning your wedding invites’ wording will go a long way towards saving a lot of time during the visual design process. Whether your invites have a traditional, formal or informal motif, it will need to show the essential elements of “who, what, when, where and why.” The last thing you want is to amend your invitations at the last minute because you left out a detail.
Be sure to read our guide on how to word your wedding invitations.
2. Use Online Design Tools
Figuring out your invitation’s look and motif will take several hours if you don’t have design experience. To speed up the process, you can draw inspiration from existing wedding invitations and templates.
 Source:
Adobe Spark
Browser-based graphic design tools like Canva, Adobe Spark, and Desygner, among others, offer a wide range of wedding invitation and save-the-date templates that you can customise with your colours, graphics, typography, and images. This means you no longer have to worry about layouts, font combinations, or going overboard with your graphic elements.
3. Shop for Paper and Cardstock Wisely

Craft stores and online paper and cardstock retailers offer a wide variety of speciality cardstock for your DIY wedding invitations. Look for brands that sell
wholesale card blanks and envelopes that let you save on bulk orders. At The Paperbox, we offer samples of our cardstock, paper and envelopes, allowing you to preview our products before you make a final purchase decision. Once you’ve selected your cardstock and paper, we recommend ordering our mega box mix, which comes with 250 sheets of paper and card in different shades, textures and finishes.
4. Get the Right Tools
You’ll need the right tools when making DIY wedding invitations. If you’re writing or cutting your invitations by hand, consider preparing the following:
- Addressing stencil — Feeling adventurous and want to give calligraphy a go? Make sure you have an addressing stencil, which will ensure your scribbles stay even, centred and balanced.
- Paper cutter — If you want to print a design that reaches the very edge of your invites, you’ll need to print on paper larger than the final size of your card blanks or inserts. You can then use a paper cutter to trim the edges.
- Corner rounder punch — If you want to give your invites rounded corners, get a simple corner rounder punch that can cut paper up to 350gsm.
5. Print Your Invitations at Home
If you’re on a tight budget, buy uncoated cardstock between 250gsm to 300gsm and print your cards at home. The average inkjet printer for home use will typically accommodate paper with a weight of up to 300gsm — just make sure you have lots of printer ink.
However, cardstock that’s heavier and glossy will need professional printing. You can still save money by ordering flat printed invitations over expensive letterpress printing and engraving.
6. Set Up an Online RSVP Page
Including an RSVP insert with your wedding invitations is an additional cost on top of your cards and envelopes. Consider dispensing with RSVP inserts altogether and set up a free RSVP web page instead. You can then write something like “RSVP at www.RSVPhere.com on your invites.
With a bit of homework and savvy shopping, you should be able to create elegant and beautiful wedding invitations on the cheap. For all your wedding stationery needs, The Paperbox has you covered. Browse through our collection of wedding stationery and postcard blanks sourced exclusively from paper mills and suppliers in the UK and Europe.

